For anyone who's read this blog closely, they'll probably know that Milk Stout is my favorite type of beer. They'll probably also know that my previous foray it left something to be desired. It was important to me to get this one right. To make it more fun, my buddy Sam joined Ed, Liz, and I.

I'll start off detailing a little project we've worked on recently...an Immersion Wort Chiller. We've noticed a distinct homebrew taste lately in our darker beers, and we wanted to address that. From our research, it seemed like the cool down process was the likeliest culprit, so we figured it was a good gadget to target in the hopes to sort of right the ship after some brew we wish we were prouder of. I mulled a lot of do-it-yourself blogs on building an immersion chiller, and to be honest, I found a lot of different directions to go in, which ended up confusing me. They also approached the job differently, with some being more high tech or evolved than others. I just wanted something that was cheap and worked, so I just used them for knowledge gathering purposes, and went at it. I knew I needed copper, and just about everyone agreed I needed 3/8". After that, I knew I needed a way to curl it, and then attach it to the sink. I also wanted to keep the price at about $30, which is far less than pre-built ones. The copper was easy, a Home Depot trip solved that pretty quickly. I'm only do small 5 gallon batches, so I didn't need anything huge. The standard coil they sold was 20 feet. That worked perfectly for me, and left me not needing to figure out any welding or coil connections. For coiling, I found a 1 gallon carboy worked perfectly given the size of my brew kettle. I was worried about kinks, but by being cautious, I didn't have any problems. (Honestly, I almost just used the pre-coiled wrapping that it came packaged in, but just stretching it a bit.)

The real problems came when I got over confident and attempted to curve the pipe inwards for an exit point, rather than the easier up and outward. That was the first kink, and I found that once you kink once, the kinks keep coming. My lesson learned here was not to be fancy if you are aiming for something cheap and strictly basic functional. I blew a mouthful of water through it, and was still good, thankfully so. It is important to keep in mind as you are bending, that you want the cold water to flow in and into the coils, and the exit point to be from the bottom of your new coil.

I got metal band tighteners, and attached some plastic tubing, and attached those at the end. Ed and I spent a lot of time figuring out how to attach it to my sink. There are a lot of connectors out there, but if you live at an apartment complex, sometimes you are faced with non-conventional connectors, because the fixtures are crap. Ed brilliantly found a way to just use the metal band on the partially deconstructed sink sprayer we have in the sink, and it actually worked quite well. You just need to make sure there are no leaks, because that can lead to contamination. It worked greatly with just plain tap water temperature. We got a drastic drop in temperature during our first use, getting down a hundred degrees in the matter of a couple minutes. We saw it as a huge success, and not to ruin the rest of the blog, the beer turned out with virtually no hint of homebrew, so even at the lack of more sample sets, we've declared it a win.


Just as a tip too...I've heard you are supposed to wipe it down with vinegar before you go. I'm not sure the reason for it, but I assume it has to do with cleaning or activating/deactivating things having to do with acids/bases. I'm not a scientist though, I'm just a financial analyst, so I did it. If you're reading this and know why the science behind it works, let me know!
Alright, now that I have that over with, let's get on to the brew. We went with an extract kit. We had bought it at the same time as the last nut brown kit from Midwest. It was a Cream Stout kit. We decided to enhance it with Cocoa Nibs and Bourbon Soaked Vanilla Beans. I'll get into more detail on what kind and how we decided to handle them with the beer.
The ingredients of the kit were:
6 lbs Dark LME
8 oz Black Malt
8 oz Caramel 80 L
1 oz Northern Brewer Hops
1/2 lb lactose
Safale s-04 Dry Ale Yeast
We steeped the grains at 155 degrees for about a 1/2 hour. We rinsed them thoroughly with some warm water.

We brought it back up to boiling, turned off the heat, and added the lactose and the dark malt extract. We then used only a 1/2 ounce of the bittering hops. We also sprinkled in a 1/2 handful of cocoa nibs at this time.. I spent a lot of time researching what to do with the cocoa nibs. The first problem I made was ordering raw cocoa nibs, where I should have gotten professionally roasted ones. I got them off of Amazon.com though, if you are looking for cheap and easy obtained ones. I do think raw ones have less flavor. They almost taste and smell flavorless when you open the bag. Making sure not to scorch them, I put them in the oven for about 5-10 minutes in a closely watched oven at 250 degrees. Toasting them really brought out a chocolate flavor and smell. I was glad I did. The reason I'm only throwing in a small bit in now is that, from what I've read, boiling the nibs can be a bad idea. They bring out a bad bitterness and any chocolate flavor will be lost in the boil. I threw some in because I wanted some of that bitterness. I did not toss in the vanilla bean in yet because of not wanting to boil away the flavor.


I finished boiling for 60 minutes, threw in about 1/4 of a deconstructed vanilla bean into the boil for the last 5 minutes, used the wort chiller,.and yeasted it up. Breaking the vanilla bean is as easy as slicing it in 1/2 long ways, and scraping out the beans.

I let fermentation happen. It started just about a day after I left it sit. It went hard for about 2 days, and was just about finished after about 5 days. I left it sit 4 more days before I added the roasted cocoa nibs and vanilla bean. I roasted about 8 ounces of nibs and sliced up 1 full bourbon soaked vanilla bean. I had found the beans at Trader Joe's in a package of 2 for $4. They can be very expensive if you buy them in the spices aisle at the grocery store. It might be worth buying a big batch of them off the internet for cheap and just storing them well. 48 hours before adding the nibs and vanilla beans to the fermented beer, I soaked them in rum. You should soak the nibs in rum or vodka prior to adding because it dissolves the chocolate theombromine that can't be dissolved in water. If you want the rich chocolate flavor, you need to soak it in alcohol. I just put the scraped bean in there so the flavors could soak together. After the 48 hours soak was up, I just dumped it directly into the fermented beer. I've seen some things about weighting down the nibs in a bag, because they float, but I had no problem with them straight into the brew. I let it sit for about a week, then bottled.


We conditioned it with brown sugar and maple syrup, and let it sit for about 4 weeks in the bottle. It turned out great! I did a side by side comparison to a vanilla stout, and it was honestly hard to tell the difference. It turned out great, and I'd rank it was one of our best brews. It came in at a healthy 5.4%. The strawberry kolsch and the blood orange wheat come are its only rivals. I've been pumped to be drinking this beer.

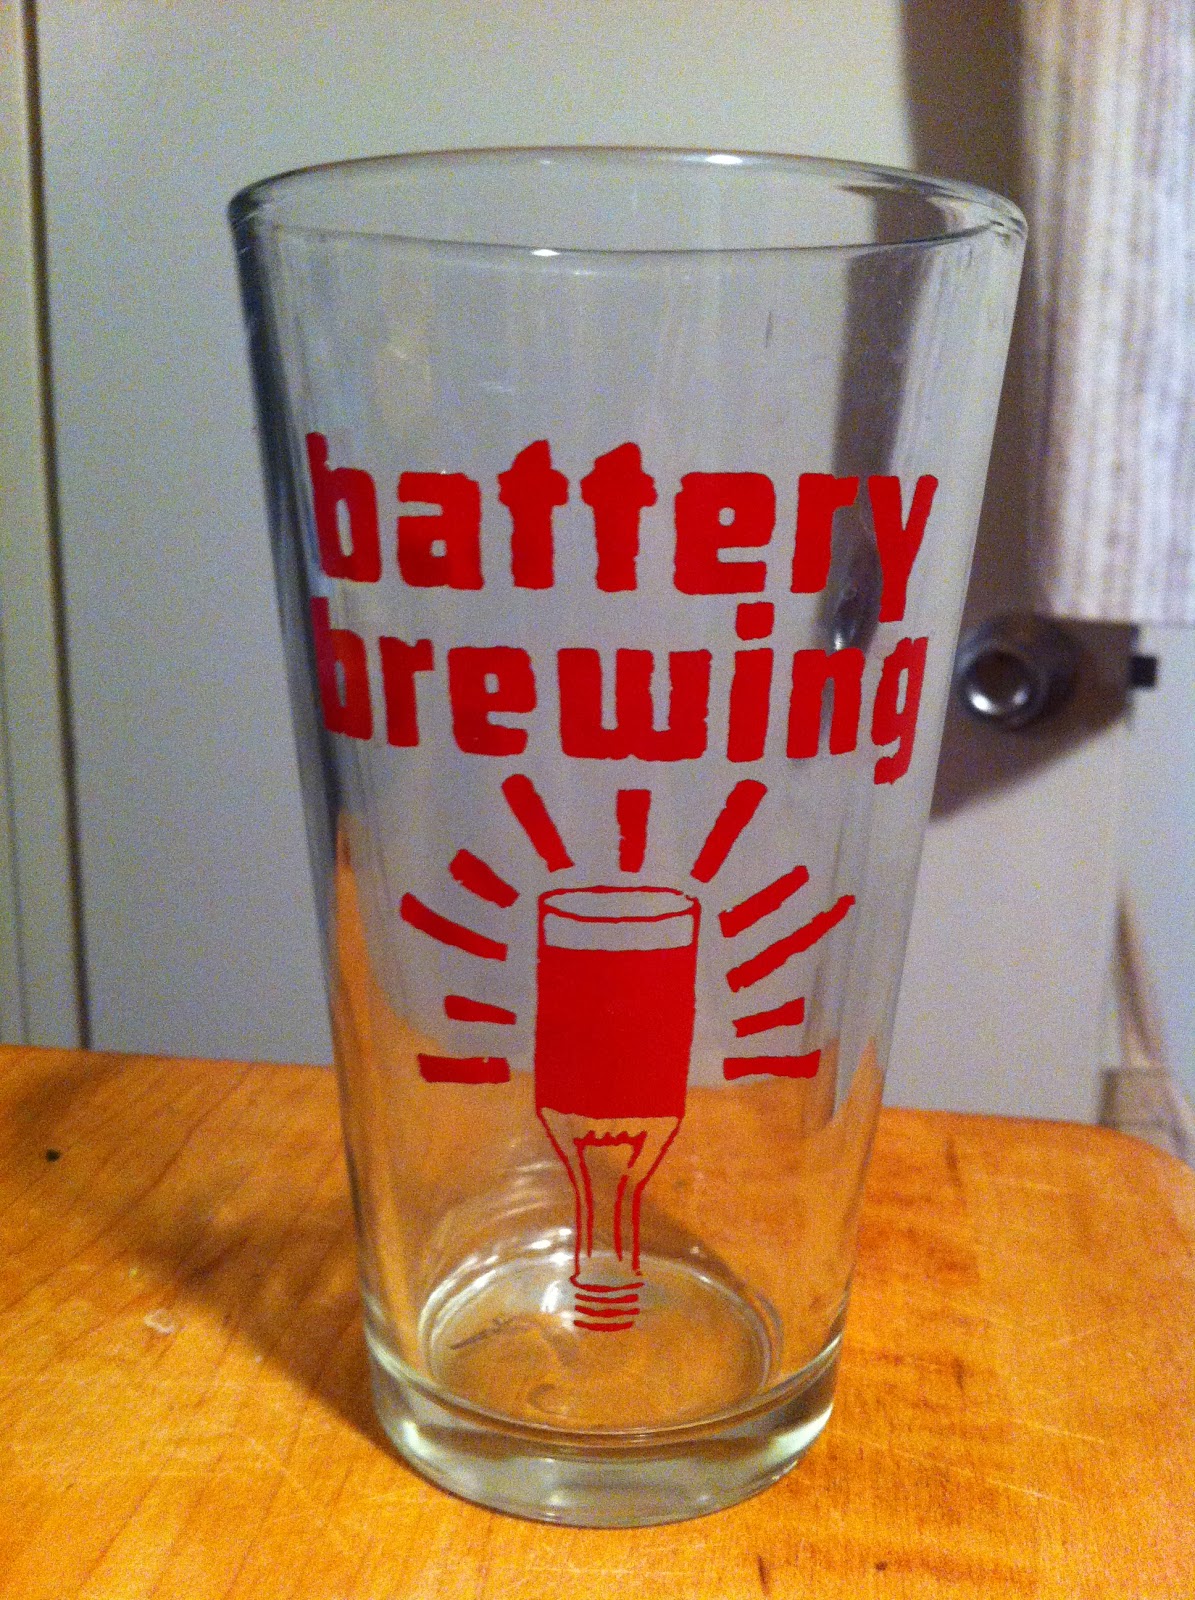
 Here's some back story: About a year and a half ago, Kevin and Ed picked the name "Battery Brewing" for their homebrew operation based on the street name where we all lived: Battery Ln. Subsequently, Kevin designed a logo and screenprinted some rockin' t-shirts for Team Battery Brewing at the annual Dogfish Dash in Milton, DE.